Key Takeaways
- Ring Birds Eye View can get blurry due to:
- Dirty Lens or Low Light
- Poor Camera Positioning and Obstructions
- Weak Wi-Fi
- Outdated Firmware
- Incorrect Settings
- Low Resolution
- To fix a blurry Ring Birds Eye View:
- Regularly clean the lens.
- Place the camera properly and clear branches or other blockages.
- Strengthen signal and reduce interference.
- Keep firmware and Ring app up-to-date.
- Adjust Motion Zones and reduce Motion Sensitivity.
- Set the camera to the highest resolution.
- Contact Support if nothing else works.
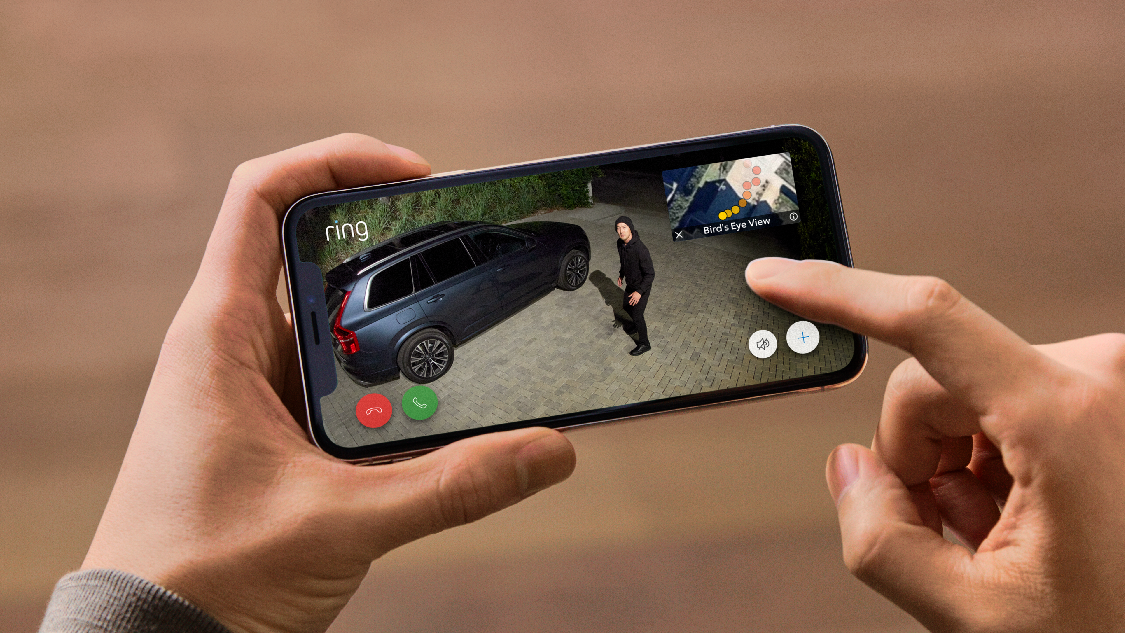
Is your Ring Birds Eye View blurry? I’ve been there and tested various solutions. Here’s a quick guide on why it happens and how to fix it.
Why Is Your Ring Birds Eye View Blurry?
Here are the common causes of a blurry Ring Bird’s Eye View:
- 📸 Improper Camera Positioning: Incorrect placement can cause distorted or blurry views of the area.
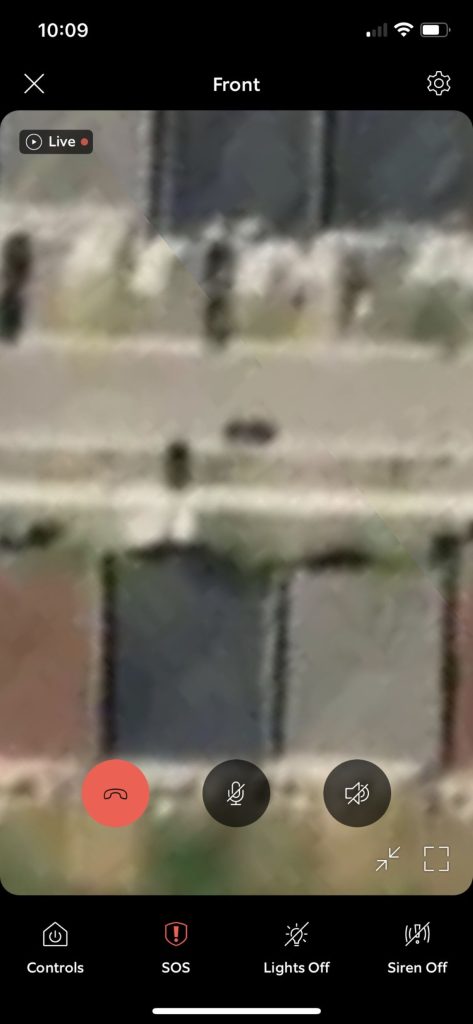
- 🧼 Dirty or Smudged Lens: Dust, fingerprints, or other debris on the camera lens can obstruct the view and cause a blurry image.
- 📶 Weak Wi-Fi Signal: A poor internet connection can affect the quality of the live feed, resulting in pixelation or blurriness.
- 🌙 Low Light Conditions: Poor lighting or glare can reduce camera clarity, causing blurry views, especially at night.
- 🛠️ Firmware or Software Issues: Outdated firmware or software glitches can affect the camera’s performance and result in a blurry view.
- ⚙️ Incorrect Motion Zone Settings: Misconfigured motion zones can affect how the camera focuses, impacting the overall clarity.
- 🚧 Obstructions in the Field of View: Objects like branches or walls can block the camera, causing a blurry view.
- 📉 Camera Resolution Settings: If the camera is set to a lower resolution, the image quality will suffer, leading to a blurry view.
How to Fix a Blur Ring Birds Eye View
Here are steps to fix a blurry Ring Bird’s Eye View:
1. Clean the Camera Lens
Keeping the lens clean is crucial for clear images. Dust, fingerprints, or debris on the camera lens can significantly affect the quality of the video feed, including the Bird’s Eye View.
Gently wipe the camera lens with a soft, lint-free cloth to remove dust, smudges, or debris that might be causing blurriness.
2. Adjust Camera Positioning and Angle
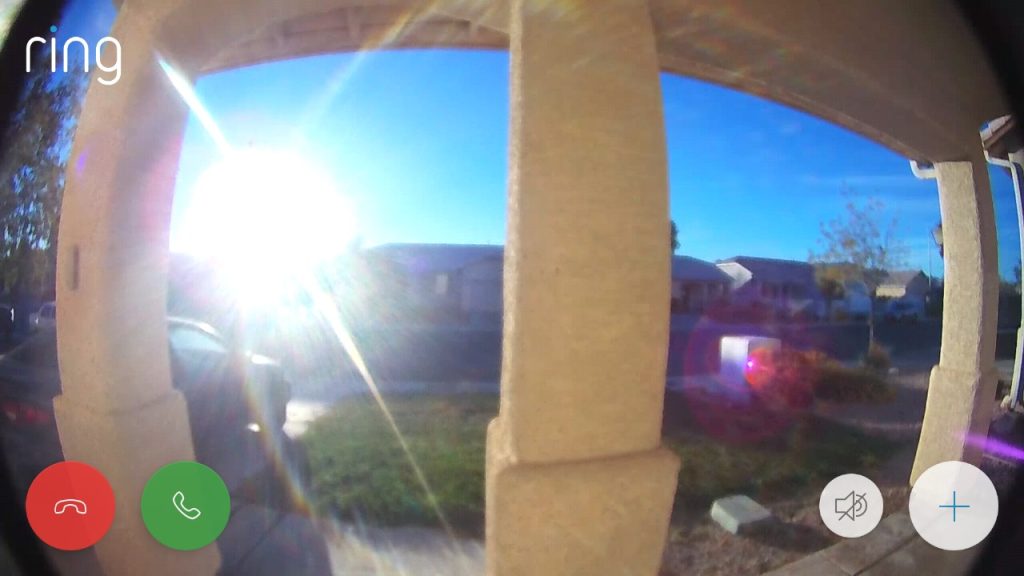
Proper positioning and angle adjustments can significantly improve the clarity of your Ring Bird’s Eye View, enhancing overall surveillance quality.
Here’s how to adjust camera positioning and angle for a clearer view:
- Place your Ring Camera in a location with a clear, unobstructed view of the area you want to monitor.
- Avoid mounting it too high or low; eye level usually works best.
- Position the camera away from direct sunlight, bright lights, or reflective surfaces that can cause glare and affect image quality.
- Adjust the camera angle to ensure it captures the desired area clearly.
- Use the Live View feature in the Ring app to check the camera’s positioning and make real-time adjustments until the view looks clear.
3. Improve Lighting Conditions
Improving the lighting conditions around your Ring device will enhance video quality, providing a clearer and more detailed view.
Here’s how to improve lighting conditions for a clearer Ring Bird’s Eye View:
- Use outdoor lights to brighten dark areas and reduce shadows for clearer footage.
- Position lights correctly to illuminate the area evenly without pointing at the camera to avoid glare.
- Use soft, diffused lighting to minimize harsh shadows and prevent blurry images.
- Use the Ring app to tweak night vision settings for better low-light performance.
- Keep strong light sources out of the camera’s direct view to prevent washed-out footage.
4. Check and Boost Wi-Fi Signal
Boosting your Wi-Fi signal can greatly improve Ring Birds Eye View Blurry video. Here’s how to check and boost your Wi-Fi signal for a clearer Ring Bird’s Eye View:
- Use the Ring app to test the Signal Strength. A weak connection can cause blurry or choppy video.

- Move your router closer to the Ring device to strengthen the connection.
- Use a Wi-Fi extender to boost the signal in areas with poor coverage.
- Consider upgrading to a more powerful router if your current one can’t provide a stable connection.
- Keep the router away from thick walls, metal objects, or other electronics that can disrupt the signal.
5. Update Firmware and Software
Keeping your firmware and software updated helps fix bugs and enhances the camera’s performance, improving video clarity.
Here’s how to update firmware and software for a clearer Ring Bird’s Eye View:
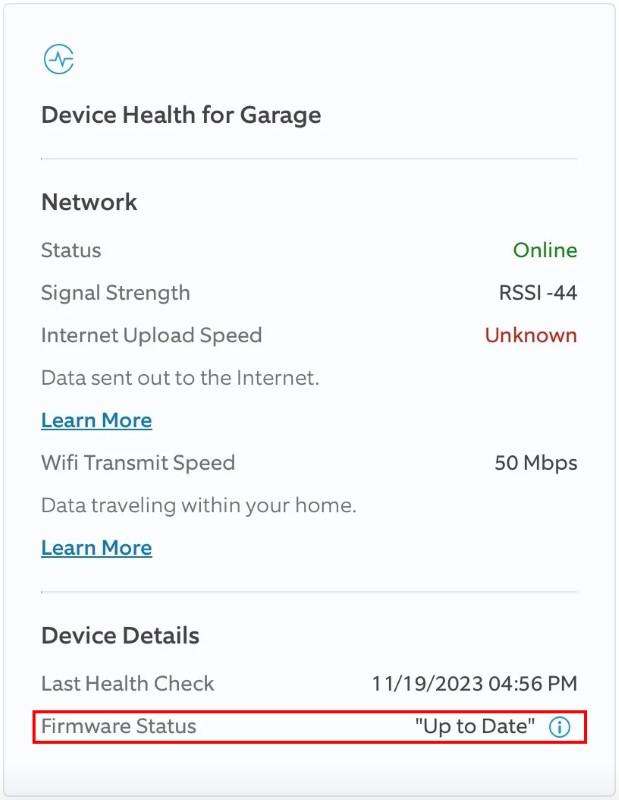
- Check for Updates in the Ring App: Open the Ring app and check for any available firmware or software updates for your device. You’ll see Up to Date next to Firmware Status if no updates are available.
- Enable Automatic Updates: Ensure automatic updates are enabled to keep your device up to date without manual checks.
- Restart After Updates: Restart your camera after updating to ensure all changes are applied correctly.
- Keep the Ring App Updated: Regularly update the Ring app on your phone to maintain compatibility and access the latest features.
6. Adjust Motion Zone Settings
Properly adjusted Motion Zones ensure the camera captures the right areas clearly, improving overall image quality. Here’s how to adjust Motion Zones for a clearer Ring Bird’s Eye View:
- Go to the Ring app and select your device.
- Go to Motion Settings.
- Adjust the Motion Zones to focus on key areas, reducing unnecessary motion detection that can blur the view.
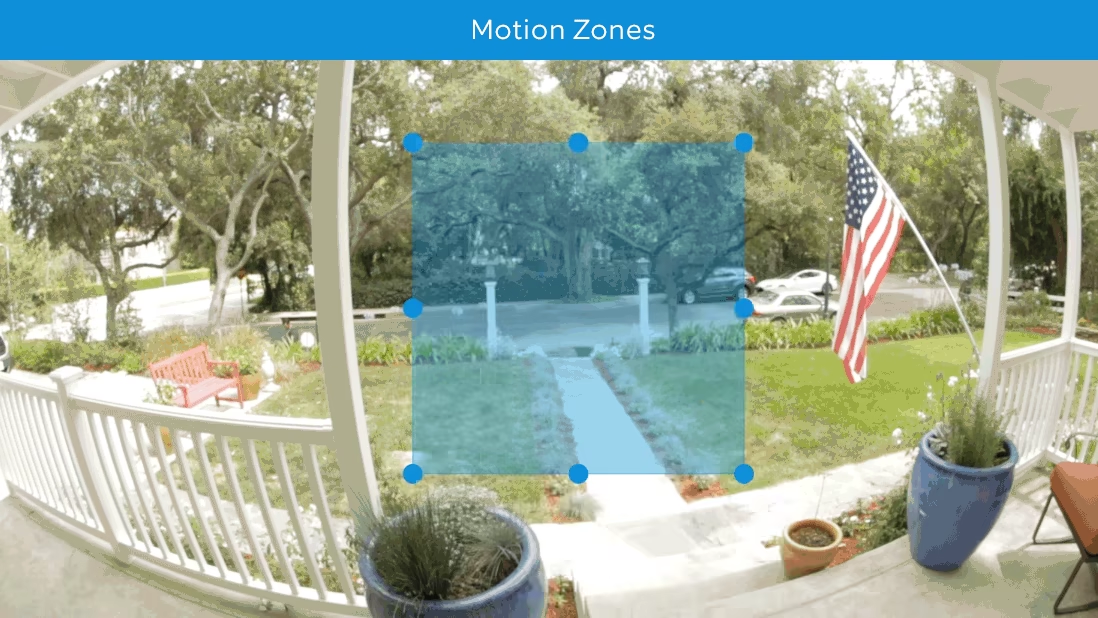
- Reduce Motion Sensitivity if the camera is picking up too much movement.

- Test different settings to find the optimal balance that provides clear and focused video footage.
7. Remove Obstructions
Periodically check your camera to ensure it’s not obstructed or dirty. Look for anything that might block the view or lens, like spider webs, branches, or leaves. Also, ensure the camera is securely mounted and hasn’t been moved or tampered with.
8. Increase Camera Resolution Settings
Increasing the Ring Camera’s resolution enhances the sharpness of the footage, reducing blurriness and providing a clearer view.
Here’s how to increase camera resolution settings for a clearer Ring Bird’s Eye View:
- Go to your device settings in the Ring app.
- Go to the Video Settings section and look for resolution options.
- Toggle on the HDR switch to increase the video clarity.
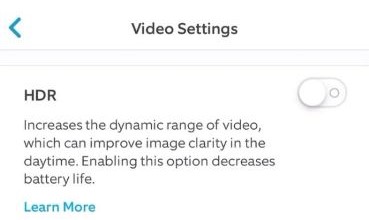
- After adjusting, test the video quality to ensure the changes improve the image without affecting performance.
9. Reset the Camera
⚠️ Warning: Resetting the camera will erase all settings, including Wi-Fi configuration and customizations. You’ll have to set up the device from scratch after the reset.
Resetting your camera can fix performance glitches and restore a clearer, sharper view. Here’s how to reset your Ring Camera:
- Find the reset button on your Ring device, usually on the back or bottom.
- Press and hold the reset button for about 15 seconds until the light flashes, indicating the reset is in progress.
- After the reset, reconfigure the Camera through the Ring app by following the setup instructions.
- Check the video quality to ensure the reset has fixed any blurriness issues.
10. Contact Ring Support
If none of the above steps work, contact Ring Support for further assistance, as the issue might be hardware-related.
Clearing Ring’s Bird’s Eye View
Preventing your Ring Bird’s Eye View from blurring is key to capturing clear footage. Regularly clean the lens and check it often to catch and fix issues early.
For more on Ring Camera, check out our guides below:
- Ring Cameras can typically see up to 30 feet, but you should find out how far a Ring Camera can see for your particular model.
- View multiple Ring Cameras by logging into Ring.com, using SmartThings, or separate devices for different feeds.
- If your Ring Doorbell doesn’t pick up everything, adjust motion sensitivity, boost Wi-Fi, clear obstructions, keep the battery charged, and update the firmware.


![wyze camera black ]](https://justsmarter.net/wp-content/uploads/2024/05/wyze-camera-black--380x250.webp)
